

AWS Elastic Load Balancer


Table of contents
- What is a Load Balancer?
- Before getting deep into the practical aspect of the load balancer
- Tutorial to Edit Inbound and Outbound Rules for HTTP from Anywhere
- Now, Host an Apache web page in Amazon Linux
- Now, it's time to add Elastic Load Balancer (ELB) into our instances
- What is Elastic Load Balancer (ELB)?
- How to Add an Elastic Load Balancer?
What is a Load Balancer?
A load balancer is a device or software that distributes network traffic across multiple servers or resources to optimize resource utilization, maximize throughput, and minimize response time. It works by distributing incoming traffic evenly among servers, reducing the burden on a single server and ensuring that no server is overwhelmed with traffic.
The use of a load balancer offers several benefits such as:
Scalability: Load balancers allow organizations to scale their applications horizontally by adding more servers to handle traffic as needed. This ensures that the system can handle increased traffic without being slowed down.
High Availability: Load balancers route traffic to healthy servers, ensuring that if one server fails, traffic is automatically redirected to another server that can handle the load. This ensures that the system is always available, even if one server goes down.
Improved Performance: By distributing traffic evenly across multiple servers, load balancers reduce response times and improve application performance for end-users.
Security: Load balancers can also provide an additional layer of security by hiding the IP addresses of backend servers from the internet and terminating SSL/TLS connections.
Overall, load balancers are essential to modern IT infrastructure, ensuring that applications are scalable, highly available, performant, and secure.
Before getting deep into the practical aspect of the load balancer
Launch two EC2 instances and Host an Apache web page in Linux and make sure you have edited the inbound and outbound rules in the security group.
What are Inbound and Outbound Rules?
Inbound and outbound rules are used to control traffic to and from your instances.
Inbound rules control the incoming traffic to your instances.
Outbound rules control the outgoing traffic from your instances.
Tutorial to Edit Inbound and Outbound Rules for HTTP from Anywhere
Navigate to the EC2 dashboard in the AWS console.
Click on the "Security Groups" tab on the left-hand side of the screen.
Select the security group associated with the instance you want to edit the rules for.
Click the "Edit inbound rules" button.
Click the "Add rule" button.
Select "HTTP" from the "Type" drop-down list.
Select "Anywhere" from the "Source" drop-down list.
Click the "Save rules" button.
That's it! Now you have edited the inbound rules for HTTP traffic to allow traffic from anywhere. ****
Now, Host an Apache web page in Amazon Linux
Install Apache by running the following command:
sudo yum install httpdVerify that Apache is working by navigating to the public IP address of your Amazon Linux instance in your web browser. You should see the Apache default page.
Change the root
index.htmlfile to "This is a hosted page" with the following command:echo "This is a hosted page" > /var/www/html/index.htmlRestart Apache by running the following command:
sudo systemctl restart httpdNavigate to the public IP address of your Amazon Linux instance in your web browser to view your new "This is a hosted page" Apache web page.
That's it! Now you have a basic Apache web page hosted on your Amazon Linux instance with the root index.html file changed to "This is a hosted page".
Access the page by entering the public URL of the instance into the browser


Copy this public IP address into the browser
Example
Now, it's time to add Elastic Load Balancer (ELB) into our instances
What is Elastic Load Balancer (ELB)?
An Elastic Load Balancer (ELB) is a service provided by AWS that automatically distributes incoming traffic across multiple EC2 instances in one or more Availability Zones within a region. This helps to ensure that the workload is evenly distributed across the instances, thus improving performance, achieving fault tolerance and reducing the likelihood of server crashes.
There are three types of Elastic Load Balancers:
Application Load Balancer (ALB): This type of load balancer is ideal for applications that run in containers, microservices architectures, and HTTP/HTTPS traffic. It operates at the application layer of the OSI model (Layer 7) and supports features such as content-based routing, path-based routing, and host-based routing.
Network Load Balancer (NLB): Network Load Balancer is designed for applications that require ultra-high performance, static IP addresses, and the ability to handle millions of requests per second. It operates at the transport layer of the OSI model (Layer 4) and supports TCP, UDP, and TLS traffic.
Classic Load Balancer (CLB): This is the legacy version of the Elastic Load Balancer and is ideal for applications that were built on EC2-Classic. It operates at both the application layer (Layer 7) and transport layer (Layer 4) of the OSI model and supports HTTP/HTTPS, TCP, and SSL traffic.
An example of how an Elastic Load Balancer can be used is when a company wants to host a web application that receives a lot of traffic. By using an ELB, the incoming traffic can be distributed across multiple EC2 instances, which will help to ensure that the workload is evenly distributed across the instances. This will help to improve the performance of the application, achieve fault tolerance and reduce the likelihood of server crashes.
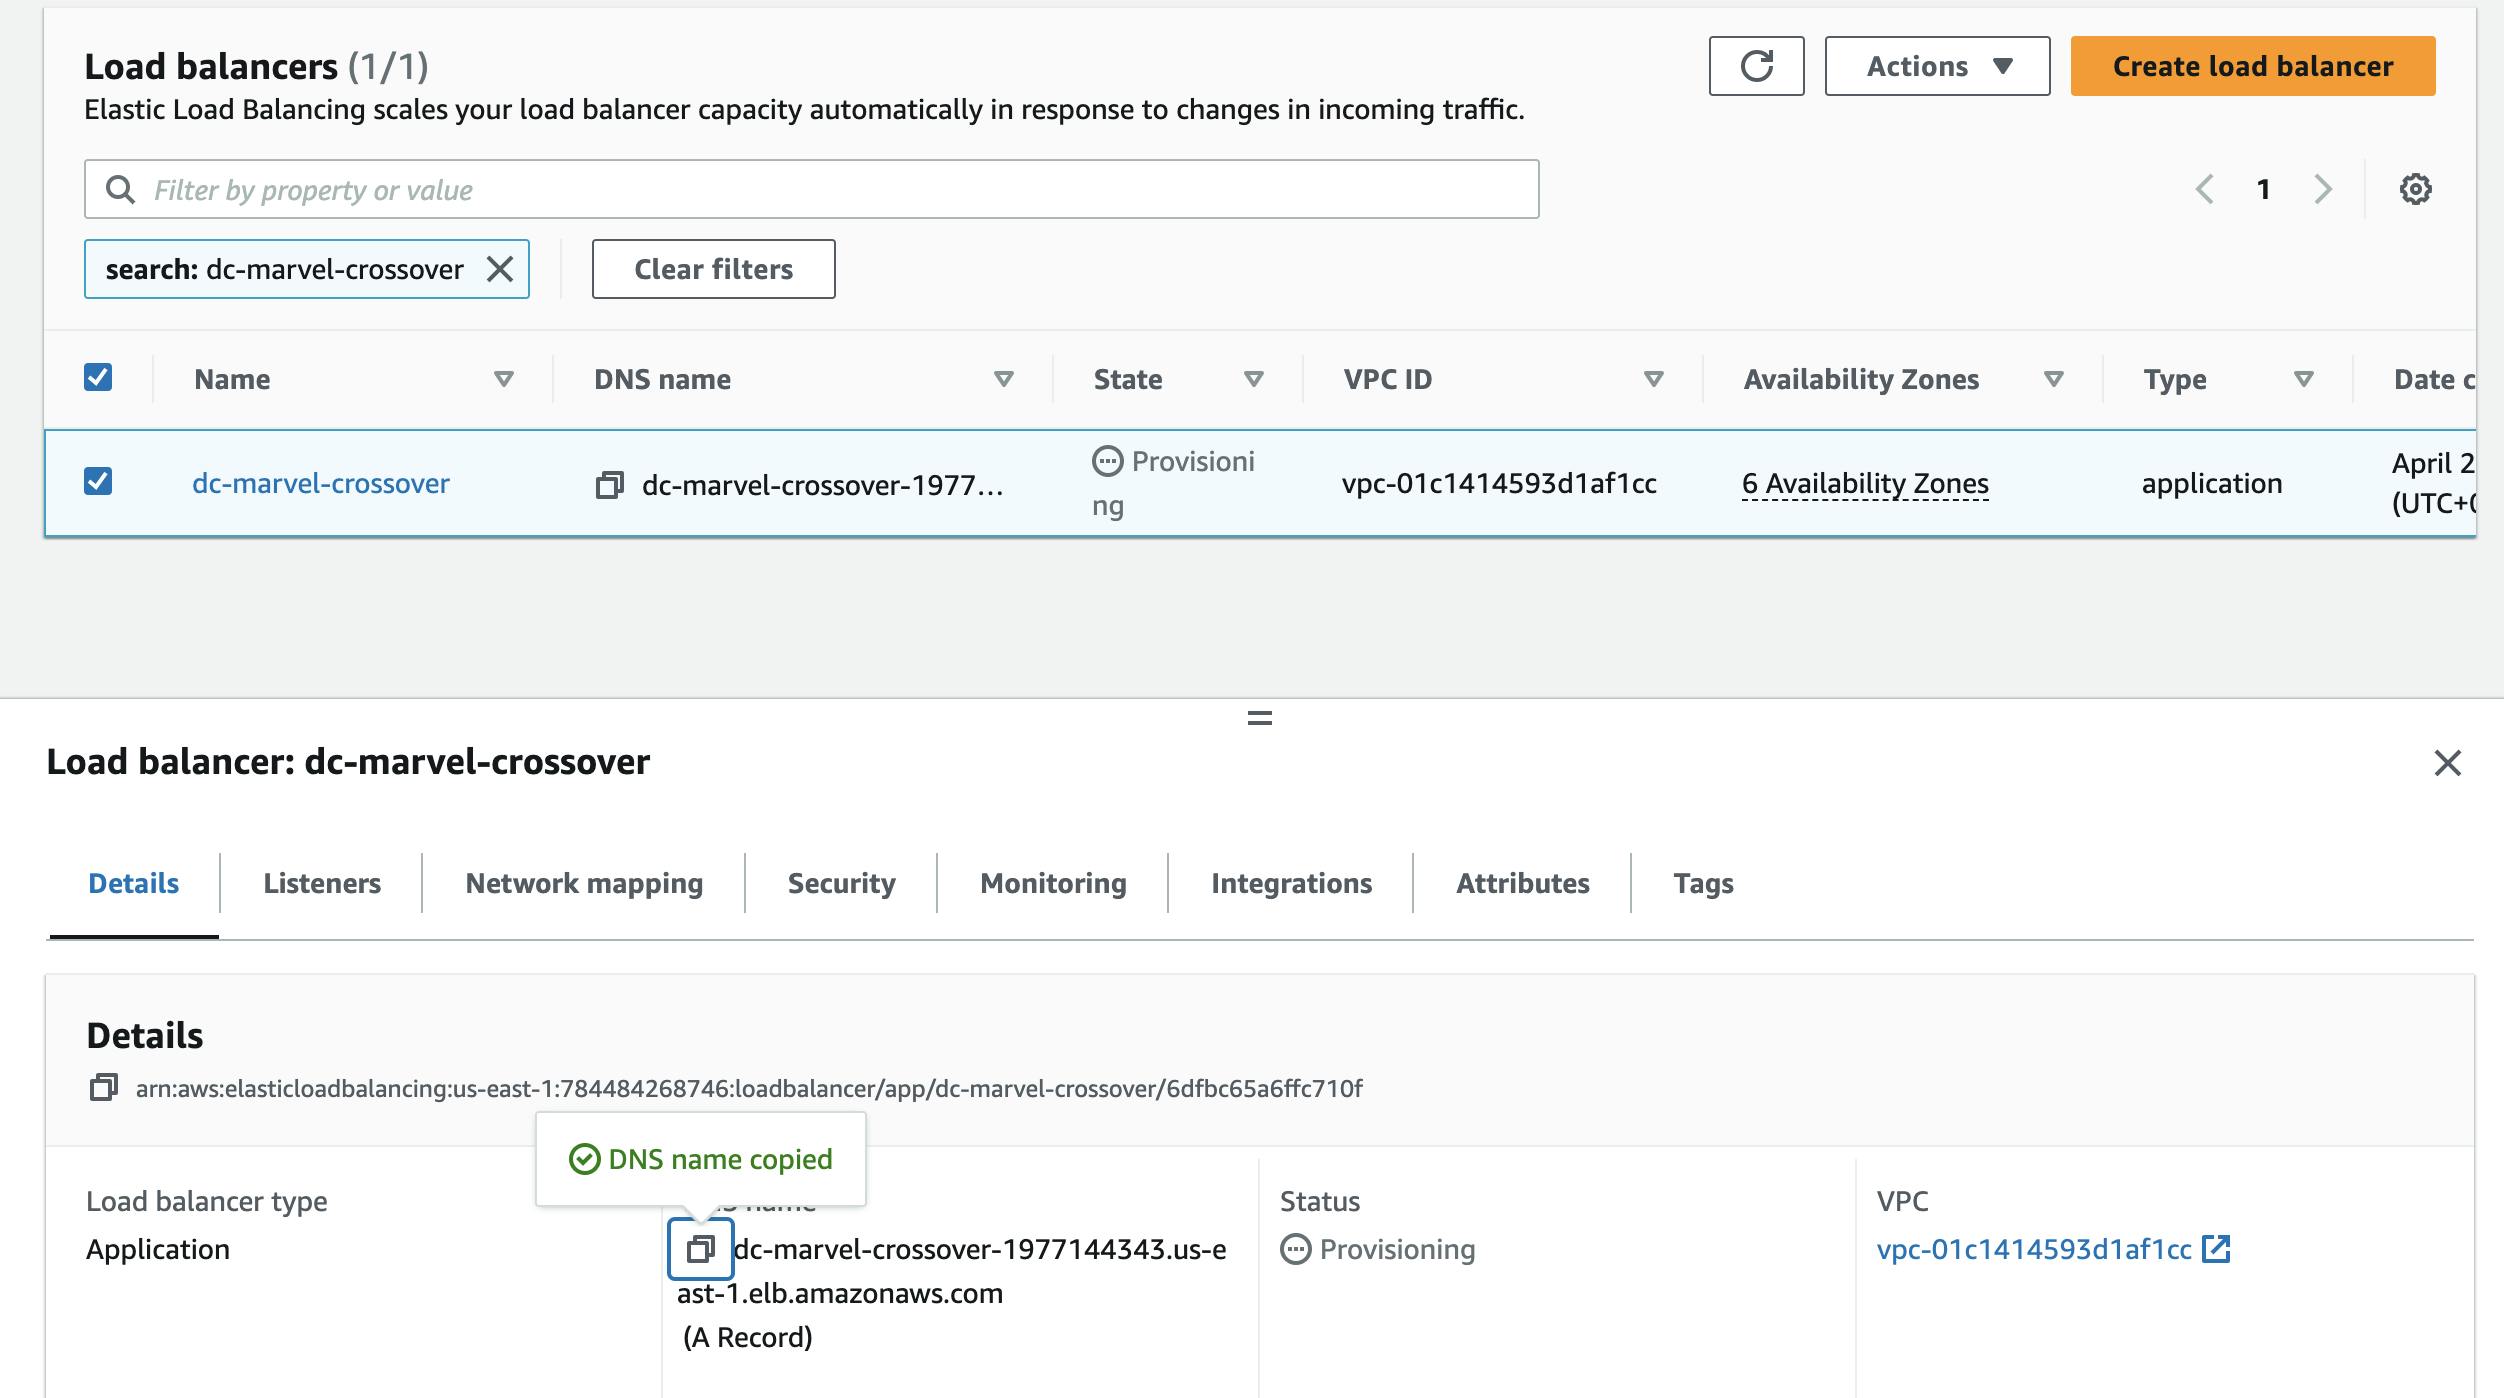
How to Add an Elastic Load Balancer?
Navigate to the EC2 dashboard in the AWS console.
Select the "Load Balancers" tab on the left-hand side of the screen.
Click the "Create Load Balancer" button.
Select the type of load balancer you want to create (Application Load Balancer, Network Load Balancer or Classic Load Balancer).
Click the "Create" button.
Enter a name for your load balancer and select the VPC you want to use.
Configure the listener(s) for your load balancer. This will determine how incoming traffic is routed to your instances.
For an Application Load Balancer, you can configure listeners to route traffic based on the content of the request.
I am choosing this one for the experiment.
Create a new security group and Add inbound and outbound rule for HTTP.
For a Network Load Balancer, you can configure listeners to route traffic based on the protocol and port number of the request.
For a Classic Load Balancer, you can configure listeners to route traffic based on the protocol and port number of the request.
Configure the target group(s) for your load balancer. This will determine which instances receive incoming traffic from the load balancer.
For an Application Load Balancer, you can define target groups based on the content of the request.
- Select the two instances which you have created as target groups.
For a Network Load Balancer, you can define target groups based on the IP address of the request.
For a Classic Load Balancer, you can define target groups based on the protocol and port number of the request.
Register the instances that you want to include in the target group(s) for your load balancer.
Configure health checks for your target group(s). This will determine whether instances are considered healthy and able to receive traffic from the load balancer.
Review and create your load balancer.
Once your load balancer is created, you can access it from the EC2 console or from the AWS CLI.
BAAM! Now Copy the DNS of the load balancer and enter it into a browser to access the server in a distributed manner.
Example

Example > Focus on the browser input
When you load the browser, the load balancer will automatically distribute the load among two hosted servers. Refresh the page to switch b/w two servers.
Next What? Make sure to check the health of the load.